
Short answer
Yes, you can fit a Wedgetail roof rack at home: assemble the platform on a clean flat surface, fit the vehicle specific mounts (factory rails, OE points or a rail system), lower the platform on, bolt it down to the torque in your instructions and recheck the bolts after the first drive. The fitting instructions for your rack are on its product page, the product data lists a fitting time for every solution, and every Wedgetail stockist also sells and fits.
| Tools | Socket set, screwdriver, torque wrench, soft mallet |
|---|---|
| Instructions | On the product page for your rack (see fitting instructions) |
| Time | See how long it takes to fit a roof rack |
| Professional fitting | Every stockist sells and fits; the factory fits on site (Monday to Friday, 8am to 4pm) |
| Check | Recheck all bolts after the first drive |
Ready to Install Your Wedgetail Roof Rack?
If you’ve just received your new Wedgetail roof rack, congratulations! You’re one step closer to turning your vehicle into a true adventure machine. While some 4×4 owners opt for professional installation, many of our customers choose to fit their Wedgetail roof racks themselves, right from their own driveway.
The good news? It’s totally doable, and with a few tools, a clear work area and the right instructions, you can have your rack installed in an afternoon. Plus, we’ve created a YouTube installation video to guide you through it, step-by-step.
Watch the video here:
What You’ll Need:
-
Your Wedgetail roof rack kit (includes frame, brackets, bolts and mounting components)
-
Basic hand tools (socket set, screwdriver, torque wrench)
-
Soft mallet
-
Sealant (if mounting directly to the roof)
-
A second pair of hands (helpful, but not essential!)
Step-by-Step Guide to Installing Your Wedgetail Roof Rack
1. Assemble the Roof Rack Platform
Start by unpacking your Wedgetail rack components and laying them out on a clean, flat surface.
-
Connect the side rails, corner pieces and crossbars.
-
Use a soft mallet to gently tap pieces together for a snug fit.
-
Make sure the flange nuts are inserted properly into the corners before tightening.
-
Double-check alignment and bolt everything loosely first, then go back and tighten once you’ve confirmed the shape is square.
Pro tip: Work on carpet or cardboard to avoid scratching the powder-coated finish.
2. Mounting to Factory Roof Rails (If Your Vehicle Has Them)
If your vehicle is equipped with factory-fitted roof rails, this step is straightforward:
-
Identify the mounting brackets in your Wedgetail kit designed for rail mounting.
-
Position the brackets along the rails in line with your crossbar support points.
-
Attach the platform to the brackets, using the included bolts and washers.
-
Once everything is aligned and level, tighten all bolts securely.
Note: Always refer to the vehicle-specific instruction manual included with your kit.
3. Mounting Directly to the Roof (If You Don’t Have Rails)
If your vehicle doesn’t have roof rails, don’t worry, Wedgetail roof racks are designed to be mounted directly and securely to the vehicle roof.
-
Begin by measuring and marking the mounting points provided in your instructions.
-
You may need to drill through the roof skin to reach structural mounting points such as the roof channel or gutter.
-
Use brackets and sealant to ensure a watertight, rust-proof seal.
-
Secure the mounting rails to the roof, and then attach the platform as in Step 2.
Important: Take your time with alignment and sealing, this is critical for long-term performance and safety.
4. Secure the Platform
With your mounting points or rails in place:
-
Lower the assembled rack onto the mounting system.
-
Align the crossbars and support points, and bolt the rack down firmly.
-
Use a torque wrench to tighten bolts to the specified values in your installation guide.
Now is a great time to check that everything is square, stable and sitting flush on the vehicle.
Final Checks and Safety Tips
Before hitting the road:
-
Double-check all bolts, especially after your first drive. It’s normal for hardware to settle slightly.
-
Distribute weight evenly across the rack when loading gear.
-
Use high-quality tie-down straps or brackets for items like ladders, awnings or recovery tracks.
-
Refer to your vehicle’s roof load rating to avoid overloading.
When to Consider Professional Installation
While most Wedgetail customers successfully install their racks at home, some setups, like track mounts, custom brackets or backbone systems, may require professional assistance. If in doubt, give our team a call or consult your nearest Wedgetail dealer.
Questions and answers
Do I need to drill the roof?
Only for some vehicles without rails or OE points; your vehicle’s instructions say which mount it uses.
Where are the instructions for my rack?
On your rack’s product page; see where to find Wedgetail fitting instructions.
Can someone fit it for me?
Yes. Every Wedgetail stockist sells and fits, and racks are fitted on site at the factory; see where to buy.
How long does it take?
The product data lists a fitting time for every solution; see how long it takes to fit a roof rack.
Related guides
SHARE THIS STORY
RECENT NEWS
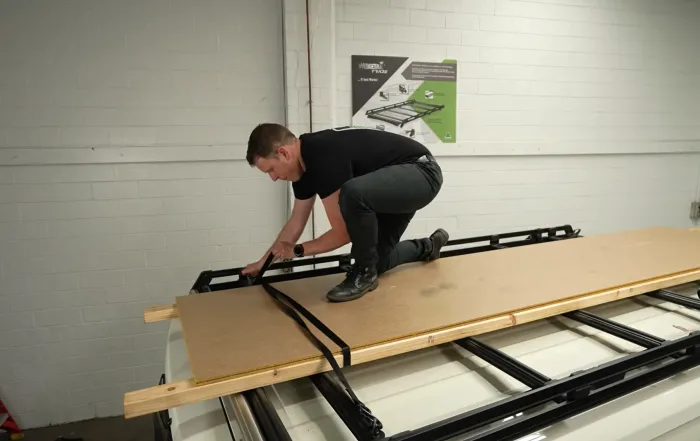
How To: Load Long Materials on a Roof Rack
Short answerUse a platform with rollers and ratchet strap mounts and follow the overhang rules: for low profile loads such as posts and pipe, take about 10% off the carrying capacity for every 10% of [...]

Wedgetail at the National 4×4 Outdoors Show 2026
Australia's biggest 4x4 show is coming to Melbourne — and Wedgetail will be there. We're exhibiting at the National 4x4 Outdoors Show from 21–23 August 2026 at the Melbourne Showgrounds. Come and find us [...]
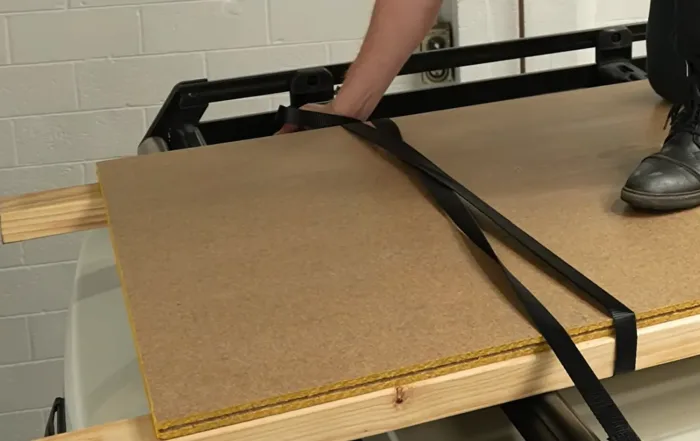
How To: Reduce Wind Humming Using the Strap Slap Method
Short answerMost roof rack whistle comes from open bar profiles and loose or flat straps; a leading edge wind deflector and the strap slap method fix most of it. Wedgetail includes a wind deflector on [...]